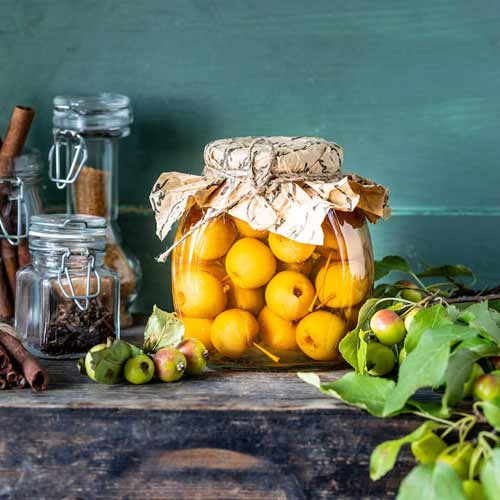
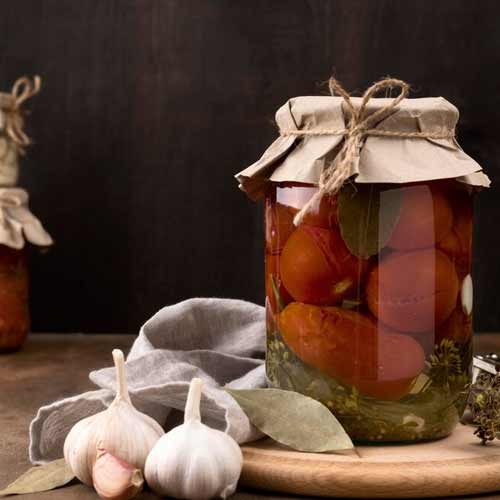
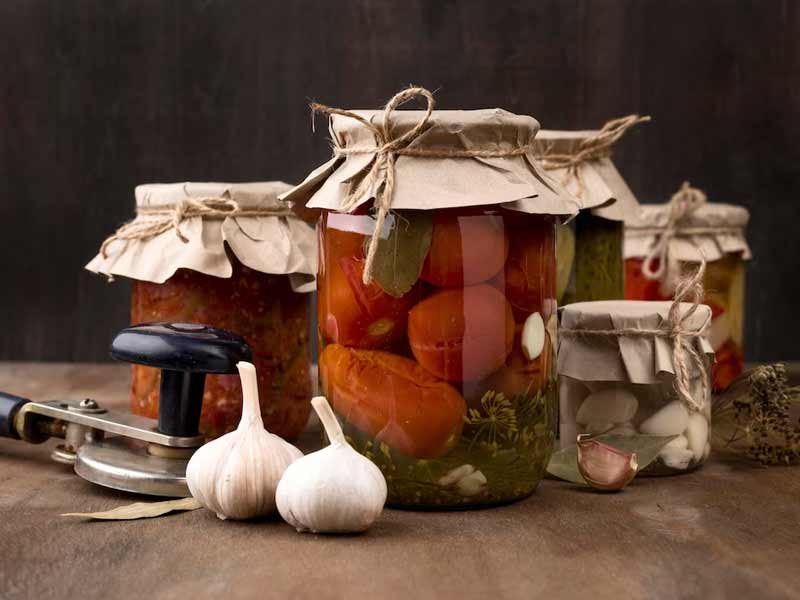
Here is Canning Guidelines. Canning is a popular method of preserving food that allows you to enjoy the flavors of fresh produce all year round. Whether you have a surplus of fruits and vegetables from your garden or want to stock up on seasonal favorites, canning provides a practical and convenient solution. In this article, we will explore the basics of canning and provide you with essential guidelines to get started.
What is Canning?
Canning is a food preservation technique that involves sealing food in jars or cans and then processing them to destroy any bacteria, yeasts, or molds that could cause spoilage. This process extends the shelf life of food, allowing it to be safely stored for an extended period. By sealing the jars, air and microorganisms are prevented from entering, ensuring the preservation of the food. You can learn Steam Canning.
Benefits of Canning

Canning offers several benefits, making it a popular choice for preserving food. Firstly, it allows you to have access to fresh-tasting produce even when it’s out of season. You can capture the flavors and nutrients of fruits and vegetables at their peak and enjoy them throughout the year. Additionally, canning reduces food waste by allowing you to preserve excess produce before it spoils. It also gives you control over the ingredients, allowing you to avoid additives and preservatives commonly found in commercially canned products. You can Learn Benefits of Canning.
Types of Canning
There are two main types of canning: water bath canning and pressure canning. Each method is suitable for different types of food and has specific guidelines to ensure safety (Canning Guidelines). You can learn Storing Canned Food.
Water Bath Canning
Water bath canning is the simplest and most common method of canning. It is used for high-acid foods such as fruits, tomatoes, pickles, and jams. The process involves submerging filled jars in boiling water for a specified amount of time to destroy any bacteria and create a vacuum seal. Water bath canning is suitable for acidic foods because the heat from boiling water is enough to kill harmful microorganisms.
Pressure Canning
Pressure canning is necessary for low-acid foods such as vegetables, meats, and soups. These foods require higher temperatures to eliminate bacteria such as Clostridium botulinum, which can cause botulism. Pressure canners use steam under pressure to achieve temperatures higher than boiling water. This method ensures the safety of low-acid foods by destroying harmful bacteria effectively.
Essential Tools for Canning
Before you start canning, it’s important to have the necessary tools and equipment on hand. Here are some essential items you’ll need:
- Canning Jars: Choose jars specifically designed for canning, such as Mason jars, which have airtight lids and are heat-resistant.
- Lids and Bands: Ensure you have new lids and bands for each canning session to ensure a proper seal.
- Canning Pot or Pressure Canner: Depending on the method you choose, you’ll need either a large pot for water bath canning or a pressure canner for pressure canning.
- Jar Lifter: This tool helps you safely lift and handle hot jars during the canning process.
- Canning Funnel: A funnel with a wide opening makes it easier to fill jars without spilling.
- Bubble Remover and Headspace Tool: These tools help remove air bubbles and maintain the correct headspace in the jars.
- Kitchen Timer: It’s important to keep track of processing times accurately, so a kitchen timer is essential.
- Clean Cloths and Towels: Have a supply of clean cloths and towels for wiping jars and cleaning up spills.You can learn Troubleshooting Canning.
Preparing for Canning – Canning Guidelines

To ensure successful canning, proper preparation is crucial. Follow these steps before you start the canning process:
Choosing Fresh Produce
Select fresh, high-quality produce for canning. Avoid overripe or damaged fruits and vegetables as they may affect the quality and safety of the final product. If possible, pick the produce at its peak ripeness for optimal flavor and nutrient content.
Proper Cleaning and Sterilization
Cleanliness is essential when it comes to canning. Thoroughly wash all jars, lids, and bands with hot soapy water. Rinse them well to remove any soap residue. Sterilize the jars and lids by boiling them in water for 10 minutes or using a dishwasher with a hot water cycle (Canning Guidelines).
Canning Process – Canning Guidelines

The canning process involves several steps to ensure the safe preservation of food. Here’s a step-by-step guide:
Step 1: Preparation
Gather all the necessary equipment and ingredients. Prepare your recipe, following proper guidelines for the specific food you’re canning. Wash and chop the produce as required.
Step 2: Filling the Jars
Fill the sterilized jars with the prepared food, leaving the recommended headspace specified in the recipe. Remove any air bubbles by running a non-metallic utensil along the inside of the jar. Wipe the jar rims clean to ensure a proper seal.
Step 3: Processing
Place the filled jars in the canner or pot with enough hot water to cover them by at least one inch. Bring the water to a rolling boil and start the processing time as specified in your recipe. Maintain a steady boil throughout the process. You can learn Canning Safety.
Step 4: Cooling and Sealing
After the processing time is complete, carefully remove the jars from the canner using a jar lifter. Place them on a towel or rack to cool. As the jars cool, you’ll hear a popping sound as the lids seal. Once cooled, check the seals by pressing on the center of the lids. If the lids do not flex, they are properly sealed (Canning Guidelines).
Safety Tips for Canning
Canning requires attention to detail to ensure food safety. Here are some important safety tips to keep in mind:
- Follow tested recipes and guidelines from reputable sources to ensure proper processing times and ingredient proportions.
- Use fresh and high-quality ingredients.
- Properly sterilize jars, lids, and bands before use.
- Check for and discard any jars with bulging lids, leaks, or other signs of spoilage.
- Store canned goods in a cool, dark place to maintain quality and shelf life.
- Label each jar with the contents and date of canning.You can learn Canning Hacks (Canning Guidelines).
Storing Canned Goods
Proper storage is essential to maintain the quality and safety of canned goods. You can learn Types of Canning. Follow these guidelines:
- Store jars in a cool, dry, and dark place away from direct sunlight.
- Avoid areas with high humidity or temperature fluctuations.
- Check the seals regularlyto ensure they remain intact. If a seal is broken or compromised, consume the contents immediately or discard the jar.
- Rotate your canned goods, using the oldest ones first to maintain freshness.
- It’s recommended to use home-canned goods within one year for the best quality, although they may remain safe to consume for longer periods if stored properly (Canning Guidelines).
Troubleshooting Common Canning Issues – Canning Guidelines

Canning can sometimes present challenges. Here are some common issues and how to troubleshoot them:
- Incomplete Seals: If a jar doesn’t seal properly, check for any nicks or damage on the rim. Reprocess the jar with a new lid and make sure to follow the correct processing time.
- Floating Food: Sometimes, the food inside the jar may float to the top, leaving an undesirable appearance. This can occur due to improper headspace or not removing air bubbles. Ensure the recommended headspace and use a bubble remover to eliminate air pockets.
- Spoilage: If you notice signs of spoilage such as mold, off-odors, or discoloration, discard the jar immediately. It’s crucial to follow proper canning techniques and guidelines to prevent spoilage.
- Low Acid Foods: When canning low-acid foods, such as vegetables, it’s essential to use a pressure canner to eliminate the risk of botulism. Follow the recommended pressure and processing times for the specific food.You can learn Home Canning Chicken.
Conclusion for Canning Guidelines
Canning is a rewarding and practical way to preserve fresh produce for future use (Canning Guidelines). By following proper guidelines and techniques, you can safely enjoy the flavors of seasonal fruits and vegetables all year round. Remember to prioritize cleanliness, select high-quality ingredients, and follow tested recipes to ensure the best results. With the right tools and knowledge, you can confidently embark on your canning journey.
FAQs – Canning Guidelines
- Can I reuse jars and lids for canning?
- While jars can be reused, it’s essential to use new lids for each canning session to ensure a proper seal.
- How long can I store home-canned goods?
- Home-canned goods can be stored for up to one year for optimal quality, but they may remain safe to consume for longer periods if stored properly.
- Can I can dairy products?
- Dairy products are not recommended for home canning due to the risk of bacterial growth. It’s best to explore other preservation methods for dairy.
- Are there any foods that cannot be safely canned?
- Some low-acid foods, such as pumpkin and summer squash, cannot be safely canned using a water bath canner. These foods require pressure canning to ensure safety.
- Can I adjust canning recipes to add my own spices or flavors?
- It’s generally recommended to follow tested canning recipes as they ensure proper acidity levels and processing times. Modifying recipes can affect the safety and shelf life of the canned goods.
We proudly present: 1TouchFood, a website specifically designed for online cooking education. Our platform offers a diverse range of culinary tutorials, aimed at teaching aspiring chefs and cooking enthusiasts the art of cooking from the comfort of their own homes. Whether you’re a beginner or an experienced cook looking to expand your culinary repertoire, 1TouchFood provides step-by-step video lessons, interactive recipes, and expert tips to enhance your cooking skills. You can learn History of Canning.
Our dedicated team of professional chefs and culinary experts have meticulously crafted each lesson to ensure a seamless and immersive learning experience. Join us on 1TouchFood and unlock your potential in the kitchen as you embark on a culinary journey filled with flavors, techniques, and newfound inspiration.
Please follow us on linkedin. You can learn all best canadian food recipes you can check our Culinary 1TouchFood Youtube and Telegram 1TouchFood page. Don’t forget Fighting Obesity Magazine and Radio Cooking.

